

Turkey Grease Nightmare? Here’s How to Clean It Up Before It Sticks for Good!
Thanksgiving dinner was a success. The turkey was golden and crispy, the mashed potatoes were creamy, and the gravy—oh, the gravy—was perfection. But now, as you survey your kitchen, reality sets in. There’s a slick, stubborn layer of turkey grease on your countertops, your stovetop is a war zone, and your oven looks like it’s been through a deep-fried disaster.
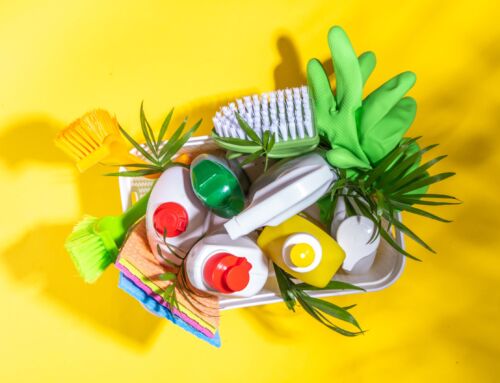
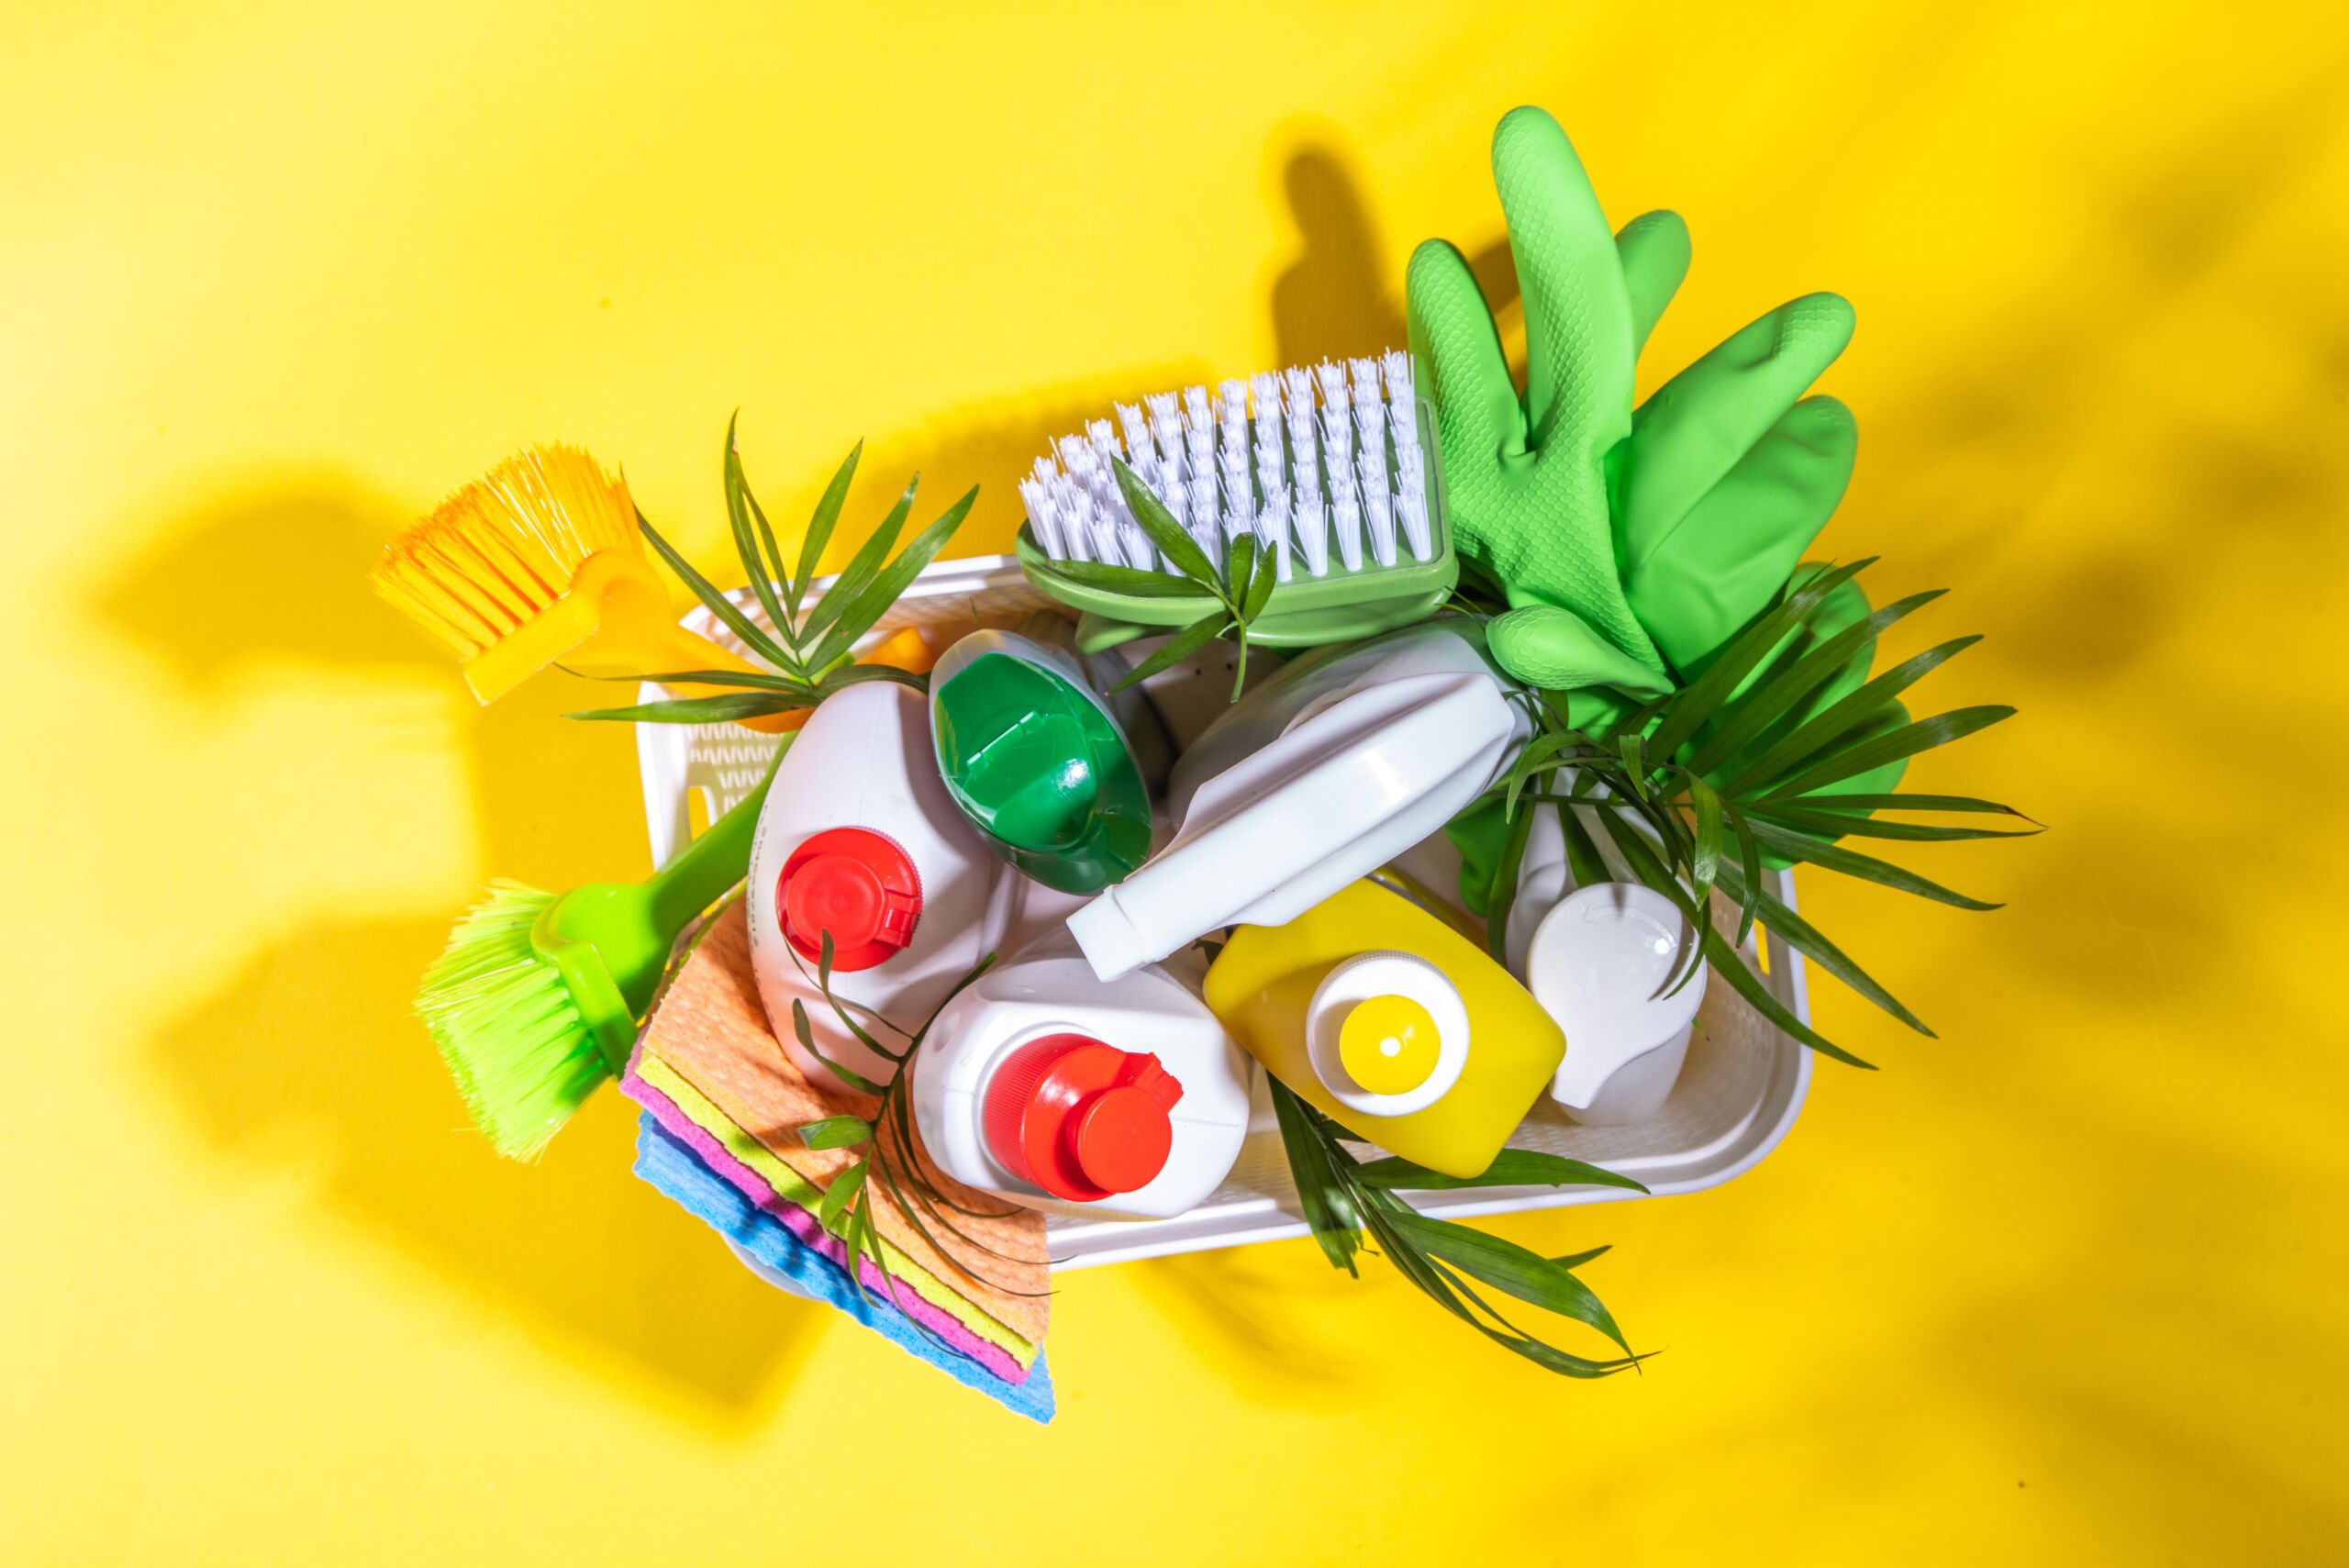
Grease spills aren’t just unsightly; they can become permanent stains if not handled properly. The good news? You can tackle that oily mess before it sets in for good. And if the mess is too much to handle, Top Notch Cleaning in Medford, OR, has your back. Whether it’s a single stubborn stain or a full post-holiday kitchen disaster, we’re here to help. Let’s walk through the steps to get your kitchen back to its pristine condition.
Step One: Act Fast—Timing is Everything
The longer grease sits, the harder it is to remove. As soon as you notice a spill, grab paper towels or a clean cloth and blot—don’t rub! Rubbing will push the grease deeper into the surface. Instead, press down gently to absorb as much oil as possible before moving to the next step. The quicker you act, the better your chances of preventing long-term damage.
If you’re dealing with a large grease spill, consider using multiple layers of paper towels or even an old absorbent rag. Sometimes, using a warm (not hot) damp cloth can help lift the oil before it settles. Avoid pressing too hard, as that could push the grease further into porous surfaces like wood or unfinished stone countertops. Keeping a roll of paper towels handy while cooking can make cleanup much easier and help prevent grease from spreading to other surfaces, like cabinet handles and floors.
Step Two: Absorb the Leftovers
Once you’ve blotted up the excess grease, sprinkle an absorbent material like baking soda, cornstarch, or even flour over the affected area. Let it sit for at least 10 minutes. These kitchen staples help lift and absorb remaining oil, making cleanup easier. If you’re in a hurry, you can gently press the absorbent material down to speed up the process.
For particularly stubborn spills, leave the baking soda or cornstarch for up to 30 minutes. This is especially useful for porous surfaces where grease might have seeped in. Afterward, use a dry brush or a vacuum with a hose attachment to remove the powder. If any residue remains, follow up with a damp cloth and a small amount of dish soap. For fabric or upholstery stains, try talcum powder or baby powder. Let it sit before brushing it off gently with a dry cloth.
If the stain persists, repeating this step before moving on to stronger cleaning methods may help. The key is patience—letting the absorbent materials do their job before scrubbing too soon will make cleanup easier and prevent pushing grease further into surfaces.
Step Three: Soap and Water—But Not Just Any Soap
Grease and water don’t mix, so you’ll need a degreasing agent. Dish soap works wonders because it’s designed to cut through oils. Mix a few drops of dish soap with warm water and apply it using a sponge or microfiber cloth. Scrub gently but thoroughly, using circular motions to lift the grease without damaging the surface.
For countertops and stovetops, using a dish soap and water mixture should be enough for mild grease stains. However, for tougher messes, mix a stronger solution using a few tablespoons of dish soap in a bowl of warm water. Dip your cloth or sponge into the solution, and apply with a little more pressure for built-up grease. If the grease is still stubborn, apply dish soap directly to the stain and let it sit for a few minutes before scrubbing.
For stubborn spills on countertops, mix equal parts vinegar and water in a spray bottle, spray the affected area, and let it sit for a minute before wiping clean. The acidity helps break down grease without damaging most surfaces. Vinegar works especially well on glass stovetops and stainless steel, helping to dissolve grease and leaving a streak-free shine. If you’re worried about the vinegar smell, don’t worry—it will dissipate quickly as it dries.
Step Four: Baking Soda for the Stubborn Spots
If dish soap isn’t enough, make a paste using baking soda and water. Spread the paste over the stain and let it sit for 10-15 minutes before scrubbing with a soft brush or sponge. Baking soda is a natural abrasive that lifts grease without scratching surfaces. Plus, it’s safe to use on almost any material, making it a great all-purpose cleaner.
For tougher stains, leave the paste on for at least 30 minutes before scrubbing. This allows the baking soda to absorb the grease fully and makes it easier to remove. If the stain persists, repeat the process or add a small amount of white vinegar to create a bubbling reaction that helps break down the grease further.
This method is especially useful for cutting boards and wooden surfaces, where grease can seep in. Just make sure to rinse well and dry completely to prevent water damage. If you have grease buildup on the backsplash, applying a thin layer of the baking soda paste can help loosen it before wiping clean with a warm cloth.
Step Five: Stovetop and Oven Grease Removal
The stovetop usually takes the worst hit when dealing with turkey grease. Here’s how to tackle it:
- Glass or Ceramic Stovetops: Mix a paste of baking soda and water, spread it over the greasy spots, and let it sit before wiping away with a damp cloth. If grease has burned onto the surface, try using a razor scraper at a low angle to gently lift off the buildup.
- Gas or Coil Stovetops: Remove grates and burners (if possible), soak them in hot, soapy water, and scrub clean. A stiff-bristle brush can help remove grease from hard-to-reach areas.
- Oven Mess: If turkey grease has splattered inside your oven, sprinkle baking soda over the affected areas, then spray with vinegar. Let it bubble and sit before wiping clean with a damp cloth. For heavier stains, make a baking soda paste and leave it overnight before wiping clean.
If your oven is beyond DIY rescue, it might be time to call in the pros at Top Notch Cleaning. We specialize in deep cleaning ovens, so you don’t have to spend hours scrubbing. A professional cleaning service can also help remove old, stubborn grease buildup that regular home cleaning products can’t tackle.
Step Six: The Final Shine
Once you’ve removed all traces of grease, give your kitchen a final wipe-down with a clean, damp microfiber cloth. This removes any remaining residue and leaves surfaces looking fresh and spotless. Using a dry microfiber cloth afterward will help prevent streaks and ensure your kitchen looks as good as new.
For a polished finish on stainless steel appliances, use a drop of olive oil on a cloth and buff the surface to restore shine. This helps protect against future grease stains and fingerprints. If you want an extra layer of protection on countertops, consider using a food-safe sealant or polish to keep them looking new.
Call in the Cleaning Pros!
If your kitchen still looks like a grease explosion even after your best efforts, don’t stress. That’s where Top Notch Cleaning comes in. We specialize in tackling tough grease stains, deep-cleaning kitchens, and restoring your home to its pre-Thanksgiving glory.
We offer top-tier cleaning services in Medford, OR, and the surrounding areas. Whether it’s a one-time deep clean after the holidays or regular cleaning services to keep your home spotless year-round, we’ve got you covered. Let us handle the mess so you can enjoy your time with family and friends.
Don’t let turkey grease haunt your kitchen. Give us a call today, and let Top Notch Cleaning take care of the mess while you enjoy the leftovers!
Share this article
Related Posts


Follow us
A quick overview of the topics covered in this article.

